- Introduction & Syllabus
- 1. Front End Fundamentals
- 2. Object-Oriented Javascript
- 3. Project #1
- 4. Ruby
- 5. Full Stack Sinatra
- 6. Project #2
-
7.
Ruby on Rails
- 7.1. Developer Workflow
- 7.2. Digital Ocean/PaaS
- 7.3. Digital Ocean Lab
- 7.4. Building a webserver
- 7.5. Getting started with Rails
- 7.6. Rails Model Attributes
- 7.7. Rails File Structure
- 7.8. Sinatra vs Rails
- 7.9. Rails Generate Lab
- 7.10. Day 1 - After Hours
- 7.11. Rails Form Helpers
- 7.12. Rails Form Helpers Lab
- 7.13. Authentication
- 7.14. Videos & Source Code
- 8. Underscore.js
- 9. Backbone.js
- 10. Project #3
- 11. Node, Express.js, MongoDB
- 12. Angular.js & TDD
- 13. Portfolio Project
- Published with GitBook
Ruby on Rails
Getting Started
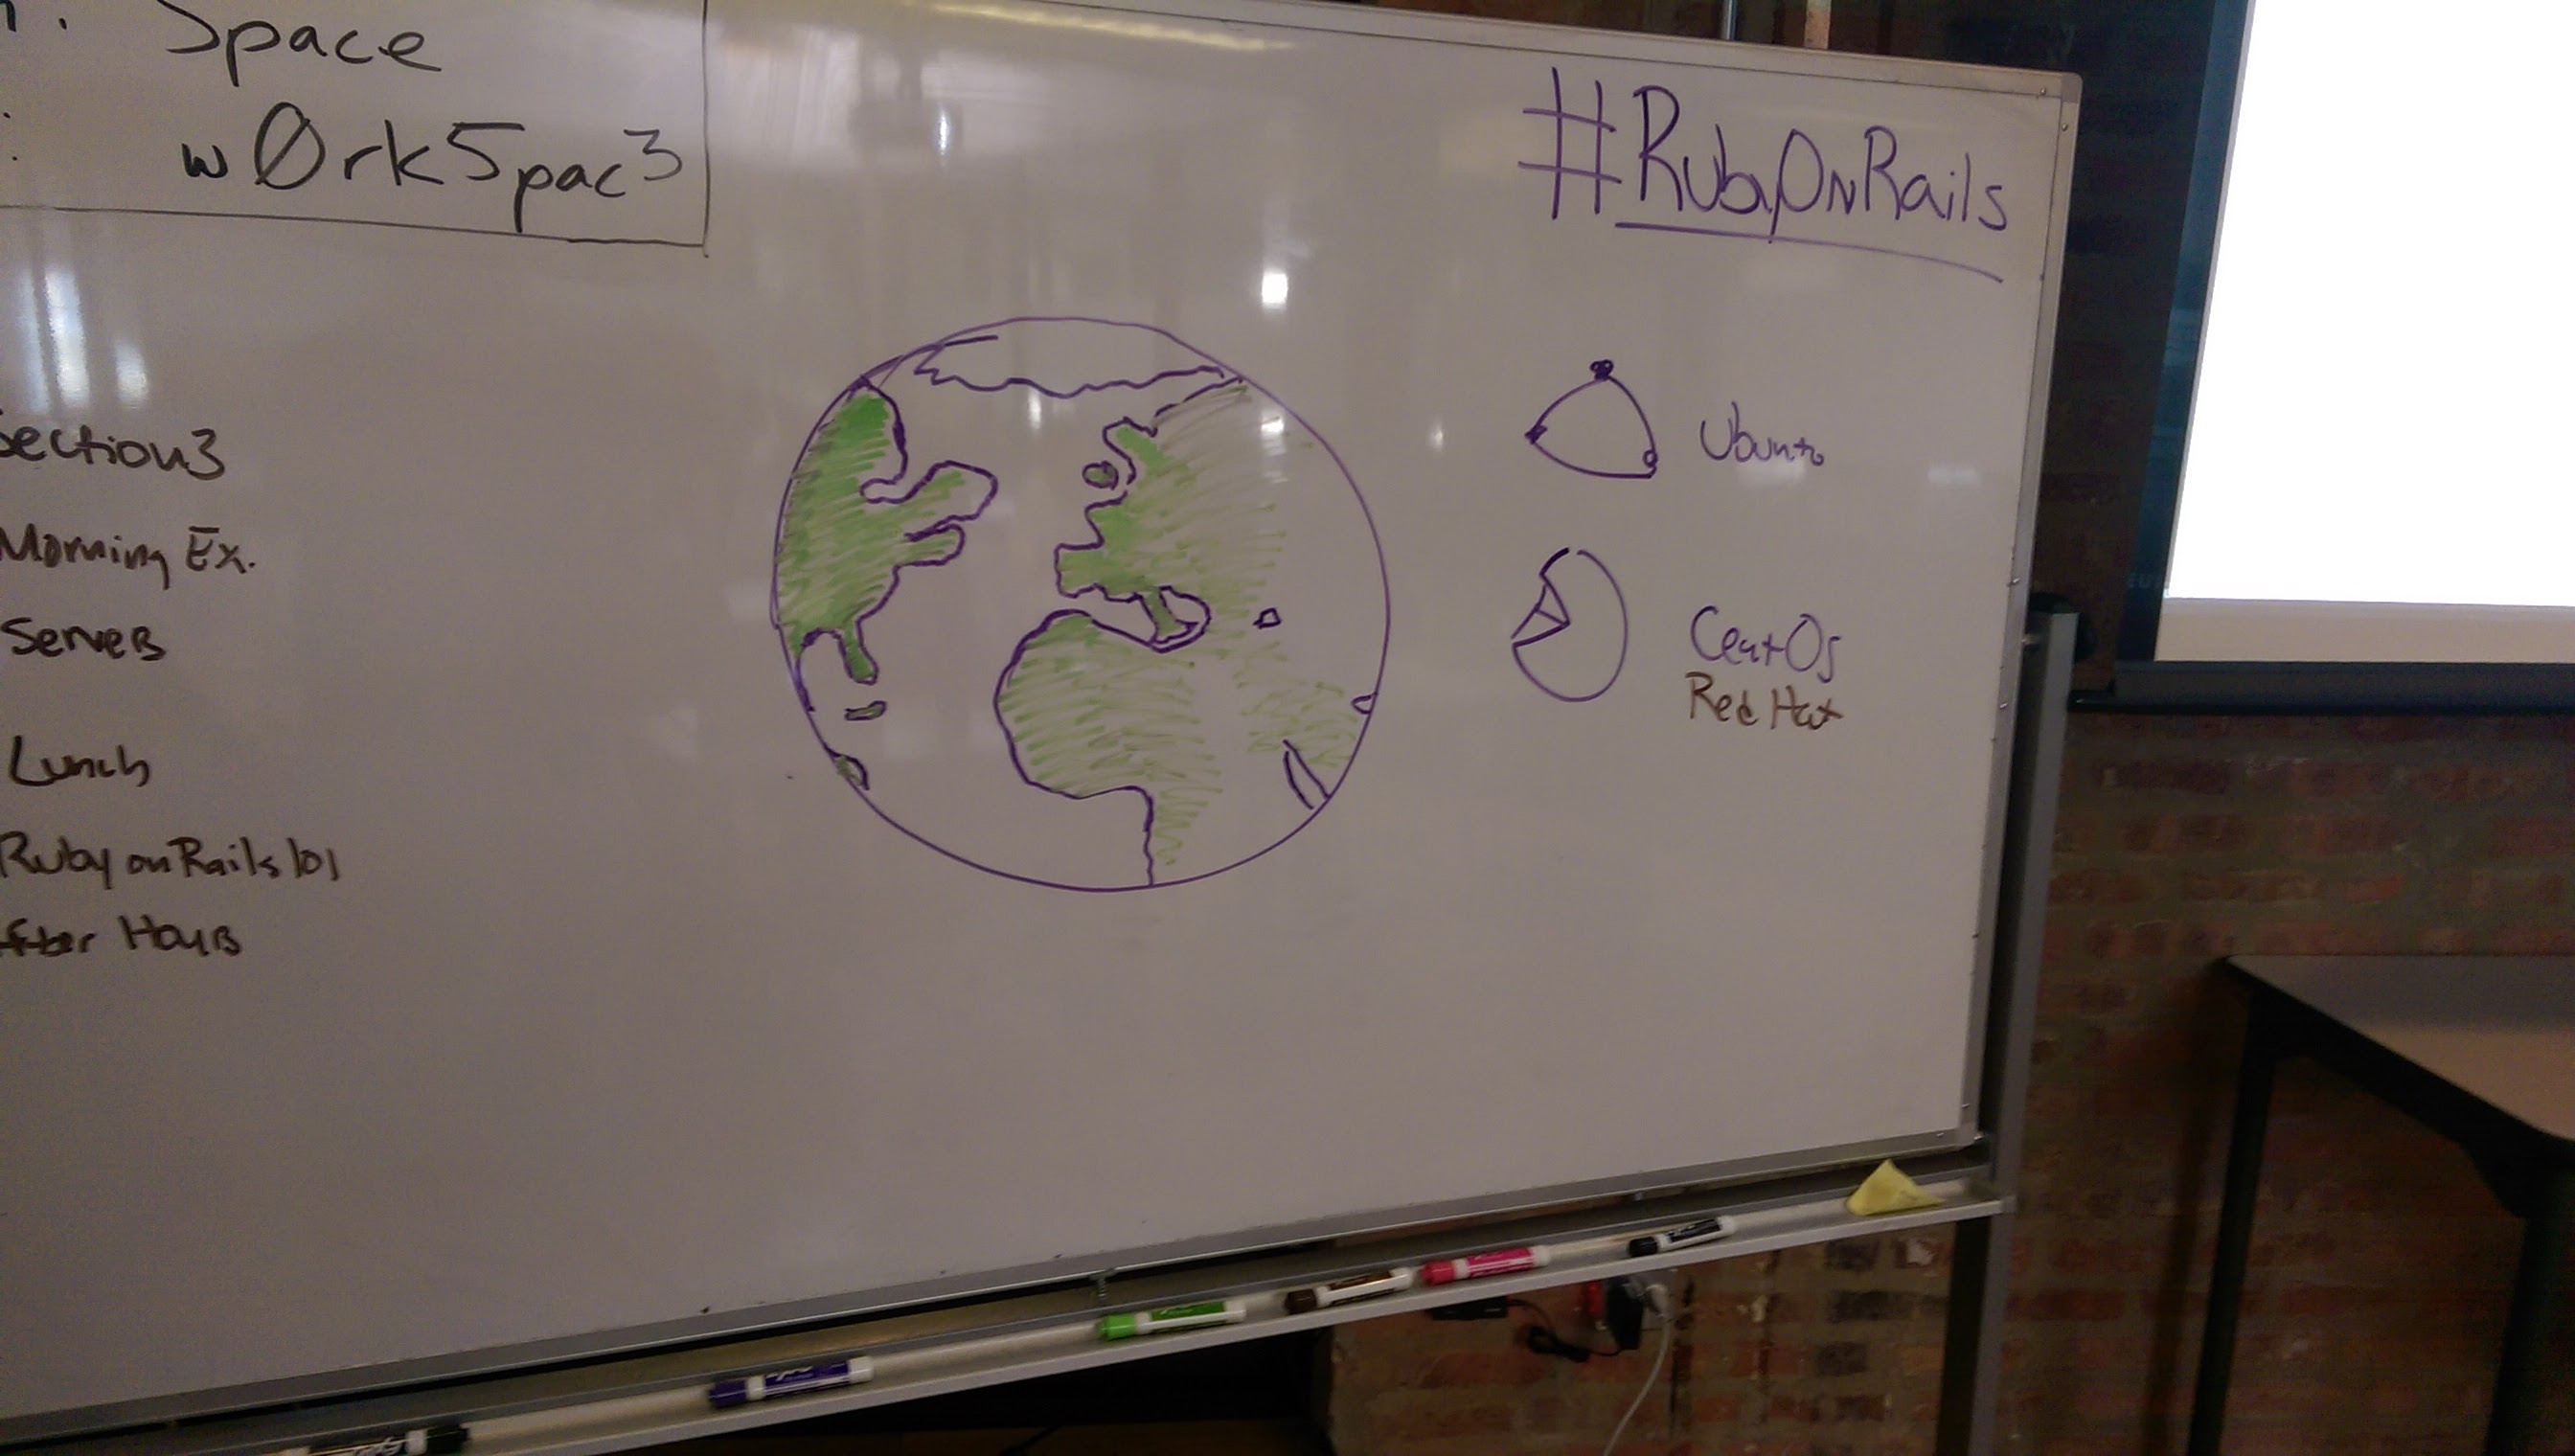
 Earth, by Tim Rourke
Bookmarks!
- Official Ruby on Rails website: http://rubyonrails.org/
- Official Ruby on Rails Github repository (you should star this!): https://github.com/rails/rails
- Official Rails Twitter: https://twitter.com/rails
- Getting Started with Rails: http://guides.rubyonrails.org/getting_started.html
- Official Command Line Documentation: http://guides.rubyonrails.org/command_line.html
- Rails for Zombies: http://railsforzombies.org/
- Michael Hartl's Rails Tutorial: https://www.railstutorial.org/book/
- Learn Ruby and Rails: http://www.learnrubyandrails.com/
1. Create & open a new Rails project
Note: If you do not have Rails installed, you must install the gem: gem install rails!
This is a step-by-step guide to creating a new Rails application. Let's get started! To create a new rails app, you use the following syntax:
rails new app_name -d postgresql -T
Where app_name is the name of your application. For example, to create an app called Coffee_Shop, I would enter the following into my terminal: rails new Coffee_Shop
The -d postgresql tells rails to configure the application to use postgres
The -T tells rails to ommit including the default rails testing framework
This will create a new Ruby on Rails application in a new desdecent folder named after my app's name in the rails new command. Enter ls to see the folder and then cd your_app_name to move into your new app. To open your new Rails project, in atom, enter the following command: atom .
2. Updating your Gemfile
Locate your application's Gemfile. Inside of it, you will comment out the following gem(s):
gem 'coffee-rails', '~> 4.1.0'
You will also add the following gem(s):
gem 'rspec-rails'
Once you've edited your Gemfile, it is time to feel the ground shake and bundle!
3. Working with your project locally
- To view your project in the browser you will need to run a server (similar to
rack). - In your terminal, enter
rails server - Unlike
rack, your project will be served at:http://localhost:3000/ Note the difference in ports:
9292vs3000To view your project in the console you will run
rails console- From this console, you can test out your models, for example.
4. Generating Models
To generate a model for your project, you can run the following command:
rails generate model Name product_name:string description:text
Note: because we strive for efficiency, we'r going to start calling our rake commands in the bin/ directory inside of our project!!!
5. Database Setup/Creation
To automatically generate SQL database tables based on your models, you can run the following command:
bin/rake db:create
To run any changes in your migration scripts, you must run:
bin/rake db:migrate
Finally, to create test entries for RSpec tests, you must run the following command:
bin/rake db:test:prepare
6. Creating Routes/Controllers
Create a controller to go along with our model.
bin/rails generate controller roasts index show edit new
Where rails generate controller specifies that we're creating a new controller. roasts is the name. index show edit new are the actions to be generated in our controller.
We can also delete actions:
bin/rails d controller roasts index show edit newbin/rake routesreturns a list of routes in your Rails project.
7. Install RSpec in your Project
Once you have included rspec in your project, you may generate unit test specs using the following command(s) in your termnial:
rails generate rspec:install
To run your tests in the command line:
bin/rake spec
8. Example RSpec Unit Test
require 'rails_helper'

RSpec.describe Object, type: :model do

    describe 'given an object' do
        before do
            @object = Object.new()
        end

        describe '#to_s' do
            it 'returns an object is an "Object"' do
                expectation = @object.to_s # should return 'Object'
                actual = 'Object'
                expect(expectation).to eq(actual)
            end
        end

    end

end
Misc
- In RSpec,
.is a class method and#is an instance method
Further Reading
- Official Command Line Documentation: http://guides.rubyonrails.org/command_line.html